by Olga Jakubowska
•
How to host Virbe on your Azure infrastructure
Get started with Virbe with Azure-hosted deployment
Deploying the Virbe app from the Azure Marketplace is an easy way to integrate our technology into your cloud. By following these simple steps, you can have your virtual being up and running in no time:
1. Log in or Sign Up to the Virbe Platform
The process of deploying Virbe app in your Azure resources starts in Virbe platform. Navigate to Virbe Hub: Log in to your Virbe account or sign up and create an organization if you don't have an account yet.
2. Launch a new being in Virbe Hub
Getting Started
After the initial setup of the account, you'll land in Virbe Hub – a place with an overview of all your virtual beings. Each virtual being created will have a dedicated dashboard launched, where you'll manage all the important parts of its operation.
Virbe Hub Home: Empty
At the beginning you won't have any virtual beings created yet (or hired, as we call it). To hire your first digital assistant, click on “Launch a new being”, which will start a straightforward 2-step process.
On the second step make sure you view the plans for the Azure-hosted option, then select the plan and save the license key (it'll come handy later on).

Azure-hosted plans in Virbe Hub
3. Deploy app in Azure Marketplace
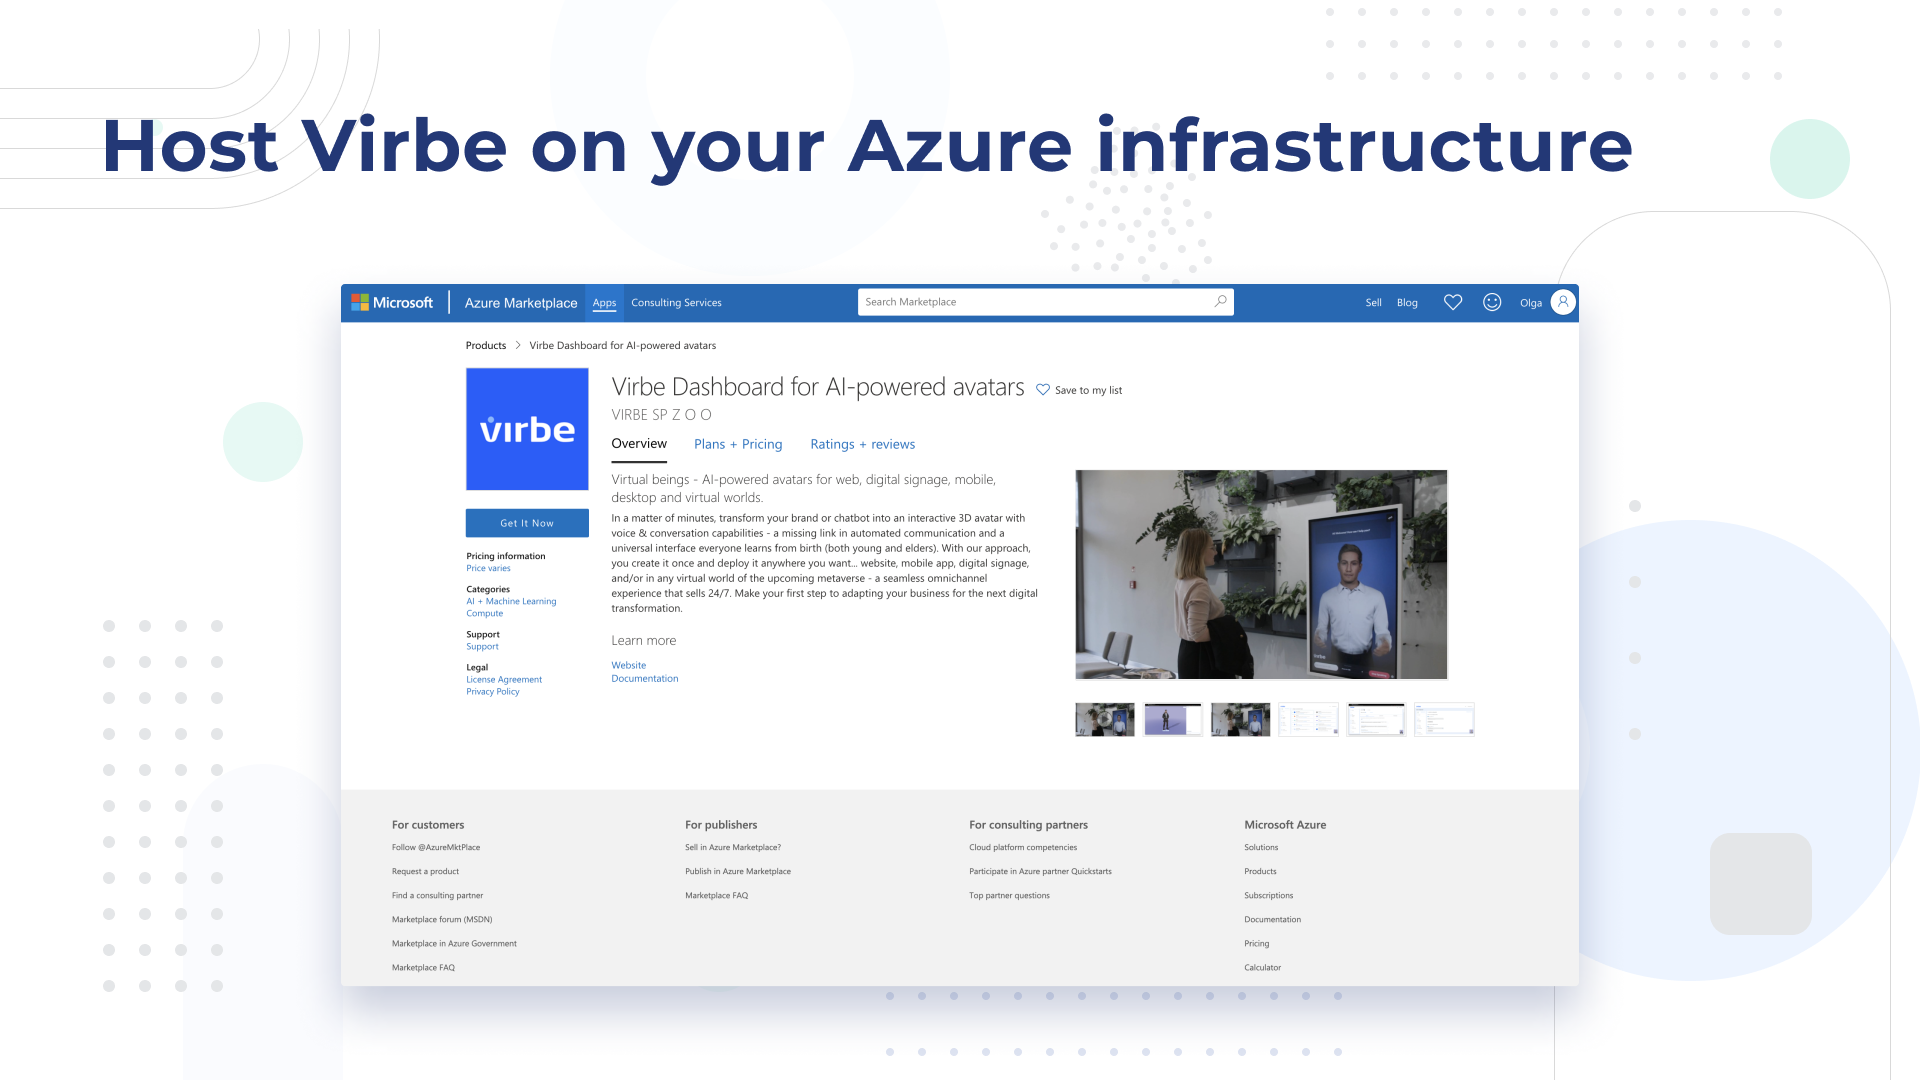
Once you've copied and saved the license key, process to Azure Marketplace by clicking on the "Continue to Azure" button. It will direct you to the Virbe app page in Azure Marketplace.
Add Virbe App: Once you've landed on the page of the Virbe app page, click the "Get it now" button. Then follow the on-screen instructions in Azure to configure and start the deployment. If you're looking for more detailed step-by-step instructions, visit our documentation.

4. Wait for the launch to complete
Once you've completed all the steps in Azure you can monitor its progress in Virbe hub. Once the deployment is complete and all the resources necessary to bring the virtual being to life are launched (which typically takes somewhere between 5 to 15 minutes), the virtual being's card in the Virbe Hub will turn green and the dashboard will become "Active.
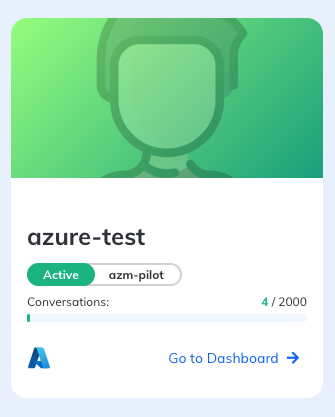
Congratulations! Your virtual being is now live and ready to interact with your audience.
For more detailed step-by-step instructions you can always visit our documentation.